
SSL Encryption With Let’s Encrypt
Learn how to install and manage a free Let’s Encrypt certificate.
1. Installing a Free Let’s Encrypt Certificate
- Open your Webhosting Control Panel (WCP).
- Select the desired domain under Websites & Domains.
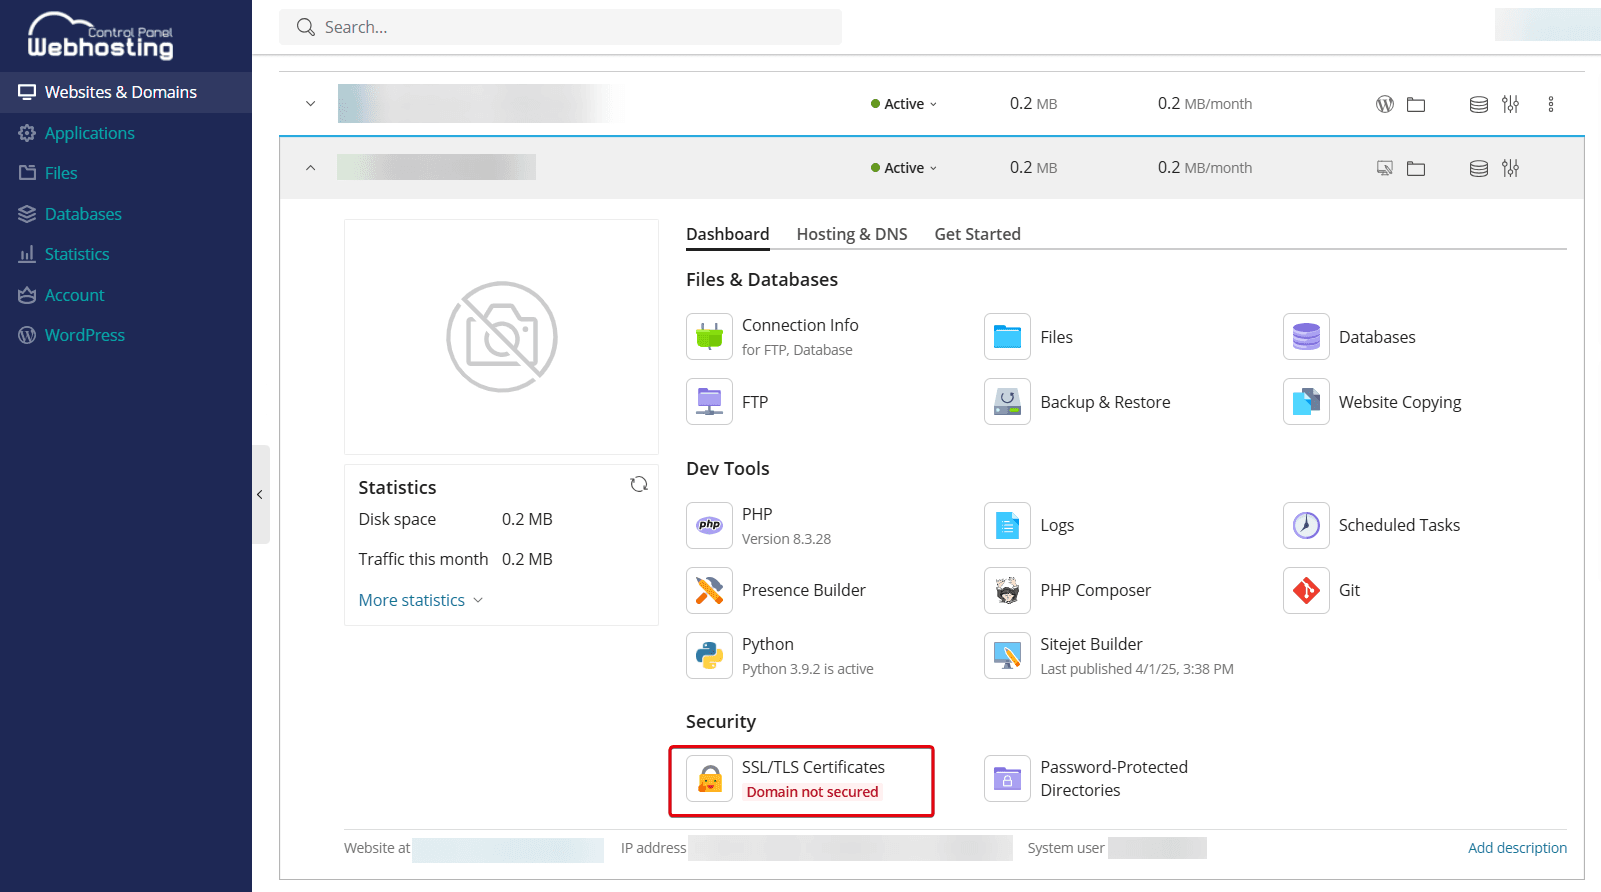
- Go to the Dashboard tab and select SSL/TLS Certificates.
- Select Install under Install a free basic certificate provided by Let’s Encrypt.
- Optional: Adjust your email address if necessary.
- Optional: If you need additional protection for your subdomains, select the checkbox next to Secure the wildcard domain.
Please note: Setting up with wildcard requires additional steps and will prevent the certificate from being renewed automatically.
- Recommended: Select Include a "www" subdomain for the domain and each selected alias to also secure the "www" subdomain.
- Click Get it free.
- Encryption with Let's Encrypt is complete. The certificate is automatically issued, set up, and renewed regularly.
Wildcard
With a wildcard certificate, you can secure a domain and all its subdomains with just one certificate. Please note: A wildcard certificate is not automatically renewed after it expires. You must renew it manually.
A wildcard certificate can be useful in the following cases:
- If several subdomains are operated under the same main domain.
- If subdomains change frequently or are created dynamically.
- To reduce the administrative effort for certificates.
- If all subdomains are subject to the same security requirements.
Setup
- Do not click Reload during this step. Leave this tab open during the next step.
- You will be redirected to a confirmation page containing instructions on how to set your domain's DNS records. This must be done before encryption can be activated. Make a note of this information.
Set DNS Record
- Open your Customer Control Panel (CCP).
- Select the Domains menu item.
- Find the domain from the previous step and click on the Magnifying Glass Icon to the left of it.
- Go to the DNS tab.
Create a DNS record as follows:
- Host: _acme-challenge
- Typ: TXT
- Destination: the entry formatted in bold
If you want to create a wildcard certificate for a subdomain, add Host without entering the domain itself.
Example: _acme-challenge.cloud for _acme-challenge.cloud.mydomain.tld
You must also define the DNS record for the subdomain itself, otherwise it would no longer be accessible.
- Click Save DNS records. It can take up to 48 hours for the changes to take effect.
- Once the changes have been applied, go back to the Webhosting Control Panel (WCP) and click on the Reload button.
- The setup is complete.
2. Manually Renewing a Let’s Encrypt Certificate
If you have selected a wildcard certificate, the certificate will not be automatically renewed after it expires. You must renew it manually.
- Open your Webhosting Control Panel (WCP).
- Select the desired domain under Websites & Domains.
- Go to the Dashboard tab and select SSL/TLS Certificates.
- Click Reissue Certificate.
- Select Install under Install a free basic certificate provided by Let’s Encrypt.
- Optional: Adjust your email address if necessary.
- Optional: If you need additional protection for your subdomains, select the checkbox next to Secure the wildcard domain. Please note: Setting up with wildcard requires additional steps and will prevent the certificate from being renewed automatically.
- Recommended: Select Include a "www" subdomain for the domain and each selected alias to also secure the "www" subdomain.
- Click Get it free.
3. Managing Options
Setting Up Redirection to HTTPS
To increase security for website visitors, you can set up automatic redirection from HTTP to HTTPS. This uses a permanent and SEO-friendly 301 redirect. This ensures that all requests to the unsecure HTTP address are automatically redirected to the encrypted HTTPS version of the website.
- Open your Webhosting Control Panel (WCP).
- Select the desired domain under Websites & Domains.
- Go to the Dashboard tab and select SSL/TLS Certificates.
- On the left side under Options, activate the slider for Redirect from http to https.
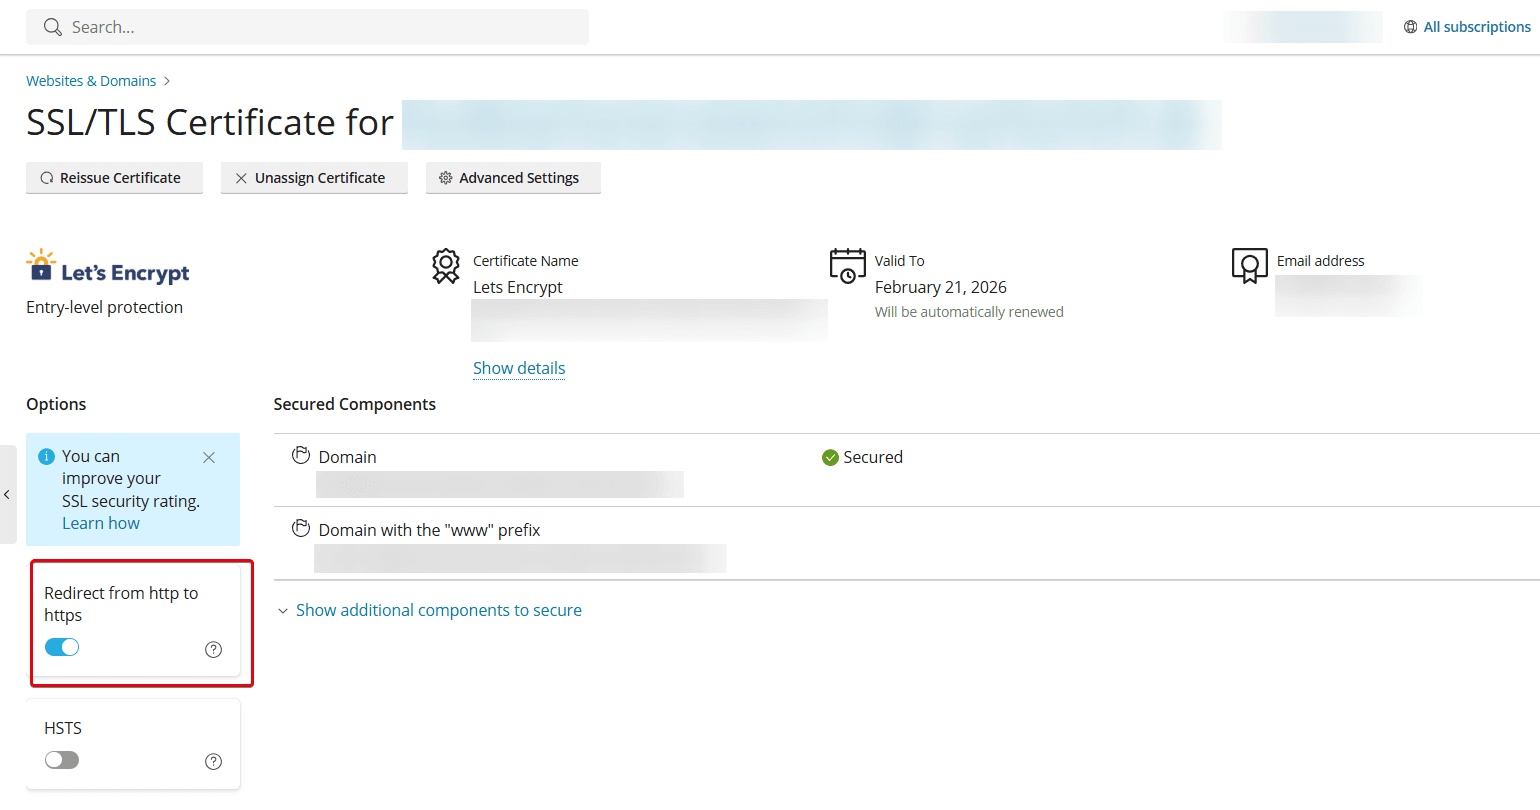
If you want a browser to always access your website exclusively via HTTPS and never via HTTP, activate the slider for HSTS (HTTP Strict Transport Security). If a user cannot connect via HTTPS, the website will not be available to them.